How to Convert Any Photo into a Bead Pattern in 5 Minutes
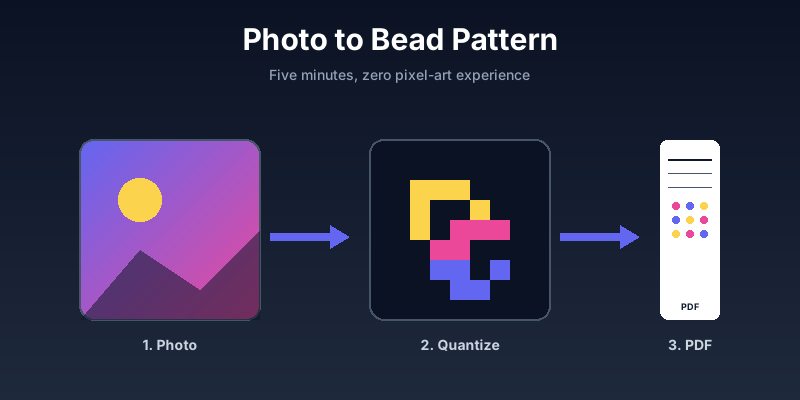
Turning a photo into a fuse-bead pattern used to mean opening a paint app, manually picking colors and counting squares. PixCraft compresses that whole workflow into about five minutes. Here is the exact path.
Step 1: pick the right photo
Pixel-art conversion works best on photos with a clear subject, simple background, and good contrast. Portraits, pets, food, and product shots all convert well. Busy landscapes or low-light photos rarely do.
Step 2: import into PixCraft
Open PixCraft, tap Convert Photo, and pick the image. Choose a target board size (32×32 is great for a first project, 58×58 if you have a Perler "biggie" board). PixCraft auto-suggests a size based on the aspect ratio.
Step 3: pick a brand palette
This is the step that makes or breaks the result. Pick the palette that matches the beads you actually own — Perler 90, Hama 60, Artkal C-series, or your own custom color group. PixCraft will quantize the photo to that palette only, so the preview matches the beads you will iron.
Step 4: clean up the tricky pixels
Auto-conversion gets you 90% there. Use the layered pixel editor to fix eyes, sharpen outlines, and remove dithering noise. The undo stack is unlimited, so experiment freely.
Step 5: export a PDF guide
Tap Export → PDF. PixCraft produces a printable guide with the color-coded grid, a bead-count summary per color, and the brand's color codes so you can pull beads out of the bin in batches.
That is it. The same pipeline works for stickers, key-rings, and full wall pieces — change the board size and re-export.